HDR - Final Steps


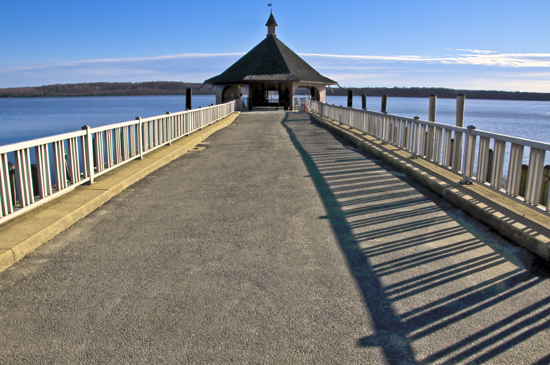
The combined HDR image has 32 bits of resolution per component (red, green, blue). Images displayed on the screen and printers at this resolution are not rendered correctly. To fix this, we need to lower the 32 bit resolution image to a 16 or 8 bit resolution. Because we are loosing resolution, we need to make sure the new image represents as much of the high resolution range as possible. A tool in Photoshop called the "Local Adaptation" HDR conversion tool does this, and allows you to adjust a variety of parameters to control the process. The tool's histogram can be used, for example, to capture the majority of the range being used. By adjusting the shape of the histogram curve, some tones can be given accentuated over others. The final result is a normal component resolution photo with a higher than normal dynamic range for the given scene and the camera's capabilities. Because the images is created from more than one source image, objects that have moved in the scene between frames must be fixed with other tools (clone brush, spot removal, etc). Taking the photos with different exposures quickly will eliminate much of the work in this final step.
