
The Bar Mitzvah Party
By Hillel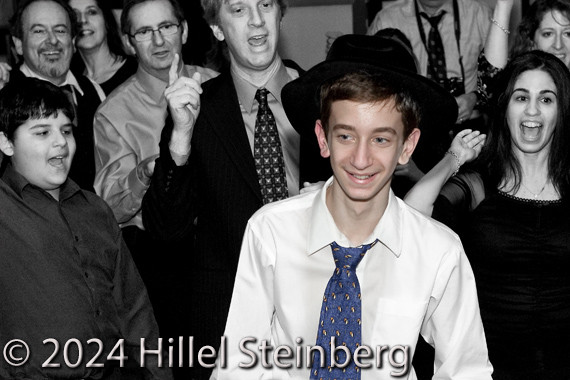
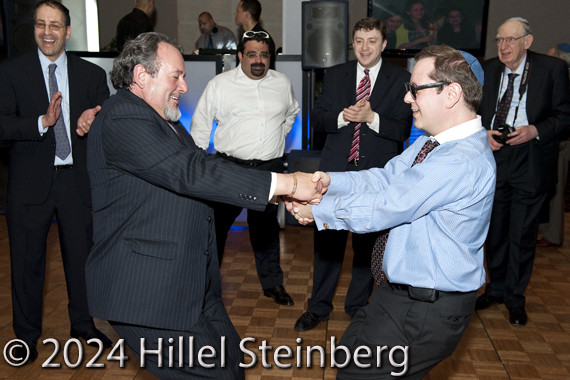
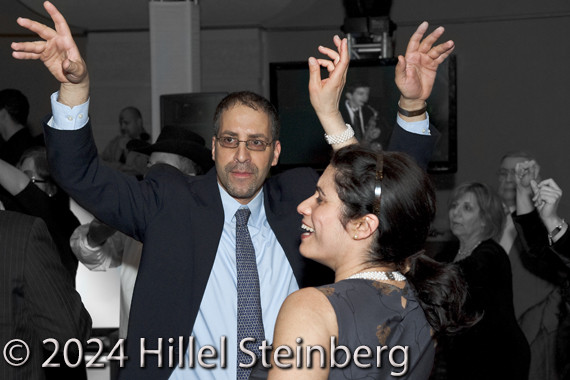
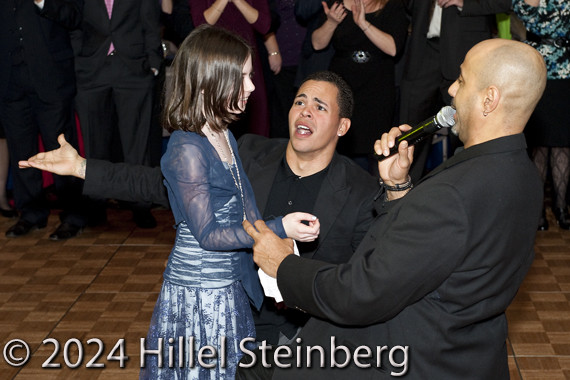
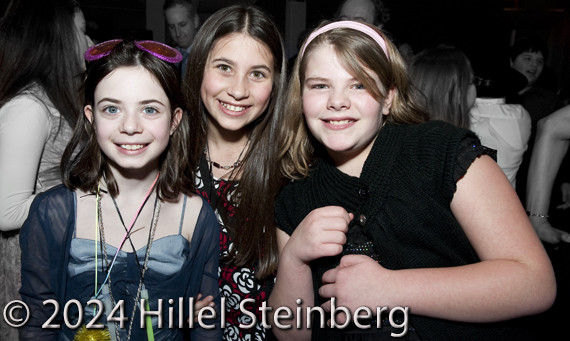
Everyone loves a good Bar Mitzvah party. Kids and adults are everywhere, running, eating, singing, and dancing – many choosing to do more than one of these activities at the same time. Those not dancing in the dim and flashing lights can be found twisting in pink glowing hula-hoops. As the kids finish wrapping their friends in toilet paper, they parade across the floor in conga lines while the adults lift the honored family high in flimsy chairs.
It is exactly for these reasons that photographing a Bar/Bat Mitzvah party is as tricky as landing a rover on Mars. Lighting, motion, and depth are key elements to the camera and photographer. When there is good lighting, negligible motion, and minimal depth, your four year old niece can take the shot with a cheap point-n-shoot with good results. When the lights are dim, everyone is running around like a sale at Macy’s, and there’s action at every distance, you need to prepare like an astronaut or your pictures will look like… well… like a four year old took them.
So what do you have to do to prepare. For starters, you need to have the right equipment, configuration, and technique. Your equipment will depend on the venue, and one set of equipment will not be effective at every location. If the party room is small, well lit, and has bright white walls, you might get away with your camera’s built-in flash. This is generally not a good idea, however, since the built-in flash is nearly at the same level as the lens. When you shoot with the built in-flash, you will find half of your subjects looking like relatives of Hades. Though maybe you could fix this in Photoshop, or you could use a red-eye reduction flash setting, neither of these ideas are adequate in addressing the problem. Eyes fixed in Photoshop don’t look as good as eyes that are captured perfectly to begin with. The red-eye flash setting doesn’t always work, and it isn’t optimal because you blind your victims twice, and you are taking a risk that they will blink in that final moment. And, with the red-eye setting active, you use more of your precious battery, and you are more likely to miss the shot by having to wait till the second flash to capture what is sure to change.
So you need an external flash unit. These little buggers will do a lot more for you than just reduce your chances of discovering red-eye. Most external flash units provide more light, and can even focus the beam to your target at various distances. External flash units that support iTTL (intelligent through-the-lens) are fantastically useful. By preceding each shot with a series of monitor pre-flashes, the scene’s lighting can be analyzed, and the correct power is delivered to the flash only a moment later. These pre-flashes are so fast you cannot see them. The camera does, however, and using the light returned along with the sensor’s color information, the scene’s ambient light is balanced accordingly. So, for example, if you are taking shot of a scene with targets at varying distances, those targets in the front are not likely to have blown-highlights because the analysis that happens by the flash just before the shot. I use the SB-800 in the iTTL mode for this reason. When you have a lot of money from your successful shoots, buy a few remote external flash units and with a commander module, they will all work in synchronization around the room like video cameras at a football game.
The camera body, lens, and memory you choose are also important considerations before the celebration. The camera body should have a sensor with enough resolution to support the kinds of picture enlargements you will need for your client later. It’s better to have more resolution than you need because many of the shots will need cropping later. Even if you frame the picture perfectly, you will need to crop the picture later to fit the aspect ratio of each frame you are trying to fill. The camera’s sensor should also be as large as you can afford. If, for example you have an APS-C sized sensor with 12 megapixels, it will not perform as well as a full sized (35mm) sensor with the same resolution in low-light environments. When individual pixel sensors are crammed together tightly, they often receive interference from their neighbors. I have the Nikon D300 with it’s APS-C sized sensor, and the D700 with its full-sized sensor. The D700 is a better choice for a party for two reasons. Not only will it manage noise better with its larger sensor, but it does not have a 1.5 crop factor like the D300. The smaller the sensor you have, the more effective focal magnification you have. The focal length isn’t really changing, but the same lens and focal distance on a D700 will appear 1.5 times closer because of the sensor size. This magnification artifact comes in handy when shooting eagles at a distance using the D300, but not when you are confined to a room.
Ok, so maybe you have a good full-frame camera. You get out your handy external flash unit with iTTL. Are you ready? No. Not even close. For one thing, we haven’t chosen a lens. If we are just going to shoot portraits this is quite easy. A simple “prime” lens will work because you can place yourself manually at any distance before the shot to make the subjects fit. But, we are shooting moving targets at varying distances. So which lens do we choose? First, we need to choose lenses that have the right focal range for the kind of magnification we are going to need. A super wide-angle lens will not cut it if you think that you will need a significant zoom to move in closer on the crowded floor. Lenses with VR (Vibration Reduction), are going to be a plus. With these lenses, as the shot is taken, the lens is shifted at the last second to negate some of the motion. But, just because have VR, doesn’t mean you can shoot at slow speeds (less than 1/60th of a second). While VR may help to reduce the camera’s apparent motion, it does nothing to reduce the targets motion. As such, I like to push the speed as fast as the camera can take it (1/160th or better) as lighting permits it. Sometimes if there is action that might look cool accentuated, though, you can slow down the shot to get the blur. The blur is cool once in a while, but people really want to see the details in the shot, so speed is paramount. You will also be looking for zoom lenses that support a wide aperture (e.g., f2.8) at their long end. Lenses that enforce smaller apertures when using a telephoto may not let enough light in for your longer shots.
You have your camera, lens, and flash now. Are you ready? How about now? Not by a long shot. Next you will need to bring memory cards to capture the moment. You should also bring spare memory and attach it to the camera strap if you can. The camera strap is a going to be with you as you shoot. Your coat or bag is probably back at the table where your food is getting cold. These days I start with 16gb in the camera, and have two similar cards on the strap. Will any memory do? Fast memory is important here. Though the camera has fast buffer memory to hold about 10 to 20 pictures, once this memory is filled up, the camera will not shoot until some of it is freed up. Memory speed is measured either as a multiplier or as a throughput value. I work with 400x or better compact-flash memory cards. This works out to something like a 60mb/sec writing speed. If you are shooting a long sequence (e.g., final round of limbo) and don’t want to hit a brick wall, fast cards are a must.
Memory is important, but is there anything else you need to think about? There are literally dozens of other considerations you should contemplate before you head out to your car. Will you need to diffuse your flash with a white card or plastic dome? Should you buy an external power pack to keep your flashes going longer and quicker? Do you need an additional battery grip to extend your camera’s energy supply? And, the biggest question of all – which settings will you use when you’re ready? Some choose their camera’s aperture priority mode to lock in a specific depth of field. But, even at the same aperture setting, depth will be decreased when you zoom in. Some people choose the speed priority mode to guarantee their shots come out crisp. But, then the camera may choose an aperture of 2.8 for the entire evening. This aperture is not enough depth to guarantee coverage for moving targets at varying depths. So, what do you do? Well, I compromise. I choose the camera’s manual mode, with a fast speed and a reasonable aperture – say 1/160th of a second and an aperture of 6.3 or higher. Both of these settings will limit the light coming into the camera. To compensate for this, I have to increase the camera’s sensitivity, or ISO. But what ISO do I choose? I don’t. Instead, I tell the camera to vary the ISO from 200 to 1600 where I know the D700 can deliver a picture with insignificant noise. By playing around with the speed and aperture in manual mode when I arrive, I can usually find an acceptable combination that delivers a fast shot, good depth, and enough room for the camera to adjust the ISO to compensate for variations in lighting throughout the night.
You should also consider the storage format for the picture. Modern cameras can usually store images as JPEGs, TIFFs, or in their proprietary RAW formats. Additionally, they may allow you to choose their compression level, which is usually a trade-off between quality and size. I almost always opt for quality over size. This usually means the pictures are stored as 14-bit losslessly compressed RAW files. The reason for storing them RAW is because the processing that the camera does cannot necessarily be undone. Images that have their colors stored as 14-bit components will have a better chance at recovery then images captured with 8-bit components. This is important because perfectly composed images are often slightly under or overexposed given the unpredictability of the shooting environment. To make these images perfect, you need to capture as much detail as you can. You will not get a second chance to do so.
At this point, you are probably thinking it isn’t worth all this work. You might be right, but with sufficient preparation, you can guarantee yourself 200+ shots that your client will love. To do this, you are going to take quite a few more pictures than that. Later when you get home, you are going to proceed through a series of steps that will transform your raw data into finished products that you can post to your proofs section on your website of choice. The organization of your post-processing workflow is very important. First, you must transfer your images from the flash card/camera to your hard drive. I copy them to a separate but internal hard drive. Internal drives are generally faster than external drives, and having them on a drive that’s not your OS (Operating System) drive will speed things up during the editing process. I put them in folders with the date and shoot name. The date is in the name first so I can easily sort them chronologically. I have Adobe convert each of the camera’s RAW formatted images to Adobe’s RAW format, DNG. There is no loss of data by doing this, and I now have the data in a format that should outlast the vendor’s proprietary format. Then, I preview each image and copy only the ones that I know are going to make it all the way through the workflow. These are shots with good composition and lighting. They do not need to be perfect, but you need to visualize all the steps that are needed to refine the picture, and make sure there are no show-stoppers in the mix.
Once you have the final set of photos, do not edit them directly. Instead, do as much editing as you can in the RAW editor first. Changes that are made in the RAW editor (e.g., Adobe’s Camera RAW) do not directly modify the image. Instead, the list of modifications are simply assembled in a list. This lets you remove some of the changes as if they had never been done. Some good things to address in the RAW editor include: saturation, brightness, contrast, red-eye, sharpness, fringing, clarity, spot removal, and fill lighting. There are many other options in the camera RAW editor, and you should learn them all if you want to become a pro. When you are done, copy all the camera RAW files with their processing to your editor’s native lossless format (e.g., Photoshop’s PSD format) in a subdirectory. This second of images set can be edited directly, but will not suffer from quality loss each time you modify them. At this point you are looking to clean up parts of each image that cannot easily be done in the RAW editor. This is a good time to remove trash from the dance floor, chocolate stains on suits, and bright flashes on shiny buttons and jewelry.
One of the last things you must do is sharpen the picture. There is no point in sharpening the picture before you clean up the shot. When you look through your image editor’s filters, you will probably see more than one sharpening filter. Most photographers begin with the standard sharpening which effects the whole image in the same way. This filter is not the best for the job because it doesn’t discriminate between the areas you want sharp, and those areas you want to remain smooth. There are other approaches that will deliver better results. One way is to create a new layer, and only sharpen some of the key areas by hand using an adjustment mask. This is pretty time consuming, and I usually prefer to simply use Photoshop’s “unsharp” filter. This filter has a very confusing name. This is indeed a sharpening filter, but you can also choose a threshold value to determine which areas concentrate the effect. To use this filter properly, you must first zoom the image till it is at 1:1, or 100% magnification. At this level, each pixel is seen at the finest detail. The eyes and facial features need to be sharp if you are going to be a pro, so move to a part of the image with these elements. Then move the sharpening slider till the results look good. Finally, move the threshold slider up to smooth out other parts non-key parts of the image. You know you have gone too far when you slide the threshold slider far enough to negate the key sharpening areas you fixed in the first step.
When you are done editing the best pictures, you work is nearly done. The last step is to convert them to a format that your destination proofing site will accept. Usually you can do this step as a single batch job. This is also the time to decide what you will add to your picture to protect your hard work. Besides the copyright and phone number that you should have already added to each picture using the Camera’s built-in metadata tagging options, you can also individually watermark them. Watermarking will not prevent a picture from being copied or printed, but it will deter others from doing exactly this while clearly identifying the work as yours. Adobe Photoshop can convert files from one format to another, and apply an “action” to the images at the same time. An “action” in Photoshop works like a macro is in a spreadsheet program. You can record a set of operations in the editor and store them as a single action. Later, you can invoke the action and save yourself the trouble of doing each step manually. A good example of a useful action at this point would be one that shrinks each image to the website’s required size, and adds the watermark and metadata to the image so others will identify you in case there is any question in the future.
Did you get all that? Didn’t think so. There really is a lot more to it, and the best way to learn is to shadow another fellow photographer. If you offer to do this for free, they may not even notice it when you ask them hundreds of questions about what they are doing. They will be more than happy to have you along because it’s impossible to be everywhere they need to be. Without the pressure of delivering, you are sure to impress them with your preparation, style, and post-processing skills. Finally, sometime much later, they will want to work for you when you become the best photographer in the business!
[whohit]-BARMITZVAH-[/whohit]
Post a Comment
You must be logged in to post a comment.