Learning to Fly – A Second Look
By HillelOver a decade ago, I bought an electric plane and took it to a field near my work. After a few minutes of flying it, the foam structure was sitting on the grass in cute little pieces. Though I could have glued the model together again, I concluded instead that the technology simply wasn’t there yet to make this an enjoyable hobby. In the mid-90s, flying RC platforms were expensive, had short-lived flight times, had limited range, rarely utilized modern technologies (e.g. GPS) and still/video/FPV (first-person-view) recording was fantasy for the average hobbyist. In the decade that followed, I launched rockets with cameras on them, and transmitted live video from RC trucks in my living room. But, my thoughts always came back to RC flying platforms, and their ability to get photos from new and exciting vantage points.
About a year ago, I became interested in RC helicopters and quadcopters as they entered the mainstream market at reasonable prices. I started with the cheap double-blade helicopters that you can fly around your living room and freak out the cat. That was fun for a while (even for the cat), but they had short air times, were hard to control, and would never fly reliably outside even in low wind speeds. I then bought a used Brookstone Parrot AR Drone which promised more controlled flights and simple WIFI FPV. This platform was fun to control, but had limited range, and the WIFI/recording was unreliable at best. After a few months I had crashed/repaired the drone so many times that it would no longer fly properly.
Since I was in the market for a new and better platform, I searched around for alternatives. The DJI Phantom was a very real possibility because it had stability, range, as well as a good payload carrying capacity. The latter was very enticing because I had recently purchased a GoPro Hero 3 Black which could take both stills (time-lapse) as well as HD video. But the Phantom was pricey, and the folks on the web were reporting fly-aways which can happen if your transmitting signal no longer reaches your drone. I didn’t want to loose both an expensive platform as well as an action camera.
Enter the Blade 350 QX. I first heard about the upcoming drone before my trip to Hawaii in August of 2013. As I read more about this wonderful device, I became increasingly intrigued. Because I’m mainly interested in a photography “platform”, the specifications appealed to my inner senses in more ways than the existing and popular DJI Phantom drone ever did. Here was a drone that costed considerably less than the DJI and yet had a “safe” mode almost designed for photography buffs and RC flyer beginners like me. In safe mode, this platform promised to not hit the owner, keep it’s position stable, and use GPS to maintain position lock. It could even return to me if it lost my transmission signal! In this mode, it appeared that I could ask it to ascend straight up in a column, and the platform would do so even if wind attempted to force it to drift.
I had $ set aside for the purchase of the drone, but it didn’t really exist. It was promised to arrive sometime in October. So, off I went to Hawaii, and temporarily forgot about the Blade 350 QX drone. Sometime in early September, I became aware that they were already releasing some 350 QXs early, so I quickly put my name down on two hobby shop wait lists. While I waited, I decided to research what early adopters were finding out about this new innovation. I quickly saw mixed reviews on the drone. Most universally thought the platform handled as promised, but many were beginning to experience rotor blade failure. Apparently the stock blades were either too weak in key areas, or the factory had screwed them on too tightly. In any event, it was apparent that this was a real problem when Blade announced confirmation of this issue with a promise to deliver “B” blade replacements free to those exhibiting these issues. Needless to say, I didn’t want to attempt to fly this first batch of drones. I immediately called the two hobby shops and requested only to be notified when they had units with the newer and stronger “B” blades.
I finally got the call in early October, and headed out to the shop. The new QXs had indeed arrived, and had the second batch of stronger blades. But I had to make a decision. Should I get the complete package with a simple transmitter (DX5), or should I take the opportunity to get a better transmitter that could work with future drones or mods? RC platforms usually come in BNF and RTF flavors. BNF (Bind and Fly) platforms won’t operate till you bind (e.g. like a Bluetooth pairing) your transmitter to it. RTF (Ready to Fly) platforms include a standard transmitter that is already bound to the specific platform. Now, in this case, the QX would utilize five channels on its own. If I got a DX6 or higher, I could have additional channels to control other things in the future such as a pan/tilt gimbal. I ultimately decided to get the DX7s which would provide two additional channels that could be utilized when the time came. Though this proved to be a good decision in the long run, in the short term, that choice made binding much more difficult as this had to be done manually by me, instead of at the manufacturing plant. Though experienced pilots tried at the hobby shop to bind my drone to the DX7s, they could not get it to work – even using YouTube videos detailing the many steps required to bind this new device to that particular transmitter. This was in part because this was such a new device, and quite different than its predecessors.
I decided to get in touch with Blade directly on my own and finish the binding process myself. I called Blade the next day, and was surprised to quickly reach a technical support person on my first try (I believe it was even a weekend!). In short order, they helped me pair the DX7s to QX with only a few key steps corrected. I learned many things in that short phone call, and was ready to take the drone out for a spin. My first test would have to be without the GoPro because I needed to gain experience with the platform first before I could trust it to carry an expensive payload.
I brought the QX out to a field the next day, and verified that the drone was in “Safe” mode. Everything worked just as expected, though I learned many things on these first few flights:
1. The platform looks pretty small once up a bit, and it becomes very hard to know for sure which way it’s pointing even with the various lights as visual cues.
2. Where you stand with respect to the drone’s takeoff position is key in “Safe” mode. You need to be back at least 15 feet because the drone in this mode will try to stay away from the “safe circle” around you. As a result, you don’t want to stand at the edge of a hill. The GPS is fairly accurate, but after flying for a bit, it may be off by a few meters which means it might not let you come all the way back to the hill’s top! Better to allow for more room in front of the launch point.
3. Without a payload, you probably do get the full 10 minutes (which is a very long time!), but I like to restrict the fly times to around 8 minutes max. You can set the DX7s so it starts a timer once the throttle is increased during take off. This gives you an easy way to see roughly how much time you have left. Still, you need to maintain good visual lock on your drone to identify if its lights are indicating a low battery event.
4. When you fly straight upwards, it can appear that it is actually flying at a bit of an angle, even though it is actually rising in a precise column. Don’t try to correct it unless you are sure you want to!
5. Before you take off, don’t forget to record your current position so you can always flip the RTH (Return to Home) switch if you panic and don’t want to loose $400+ bucks! This can be done on the 350 QX with the trim slders on the transmitter.
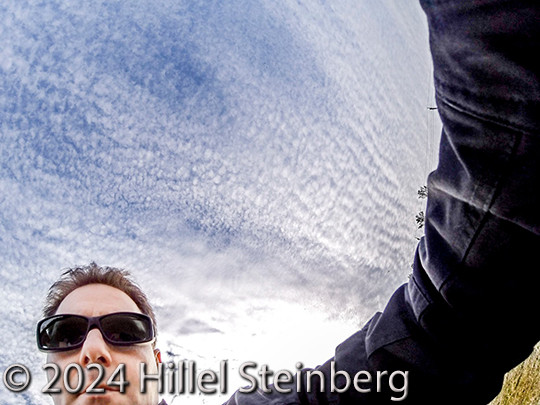
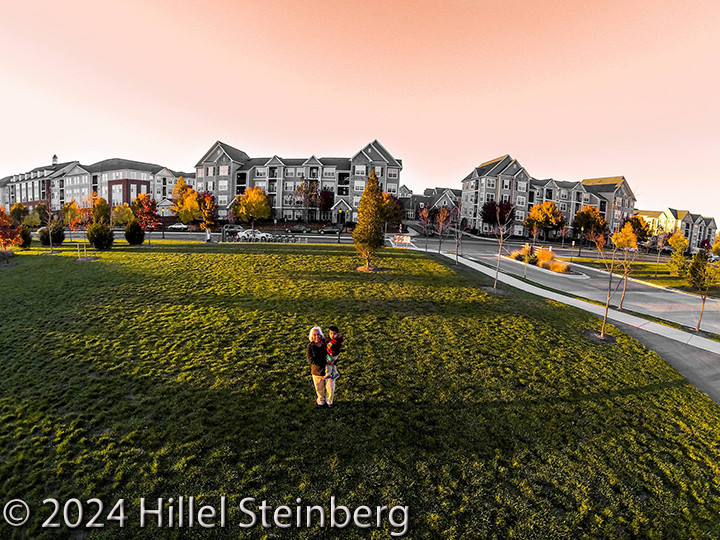
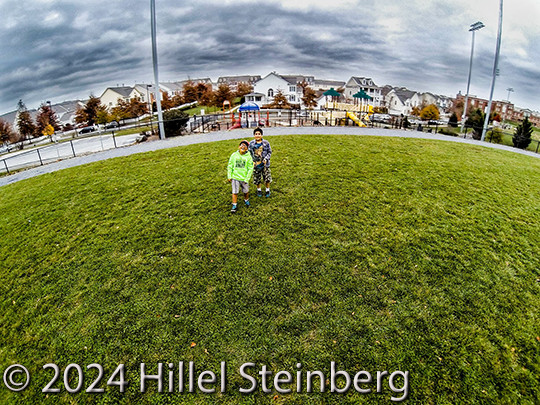
6. Young spectators are often more interested in new possibilities with this technology than older folks (see the pictures below).
The next day, I decided to fly the drone with the GoPro payload for the first time. This seems like a simple task, but there are many things you need to do to prepare for before you attempt this:
1. Fully charge a GoPro battery.
2. Format a new flash card and verify its operation in the GoPro.
3. Turn off the GoPro’s WiFi support which will likely interfere with the 2.4ghz spectrum transmitter’s signals.
4. Shield the entire GoPro except the lens with copper foil to prevent EMF from confusing the drone or inhibiting its operation.
5. Mount the GoPro upside down to get the wide-angle lens further away from the QX’s body. If you don’t do this, you may see its skids and such in the final output. This is something you can’t easily remove in post.
6. Put the GoPro in inverted capture mode to compensate for its inverted mount orientation.
7. Don’t forget to take off the lens cap! Because you aren’t using WIFI to verify its live operation, this is an easy point to look over.
8. Put the GoPro in 2 FPS time-lapse mode at 12mp with in-camera post processing turned off to optimize your chances of capturing your desired view. Later you can fine tune the white balance and brightness/contrast.
9. Make sure the GoPro is on, and begins capturing before you take off.
10. Don’t forget to turn the capture off when it finally lands or you will have to delete many pictures later!
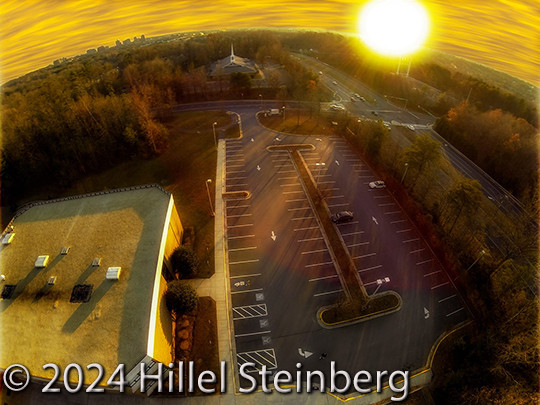
11. The dynamic range for most action cameras is pitiful. Make sure you are happy with your camera’s settings or you will have unrecoverable shadows and blown highlights consistently. If you shoot away from the sun, you can limit this issue.
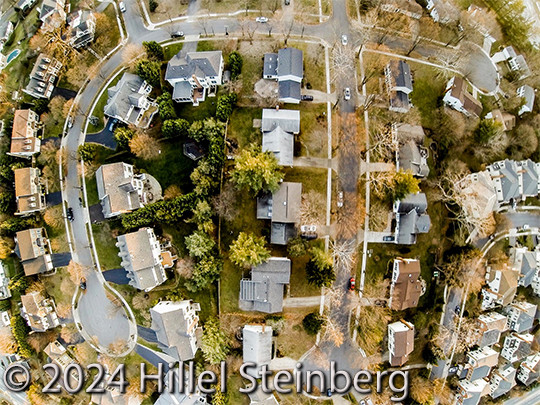
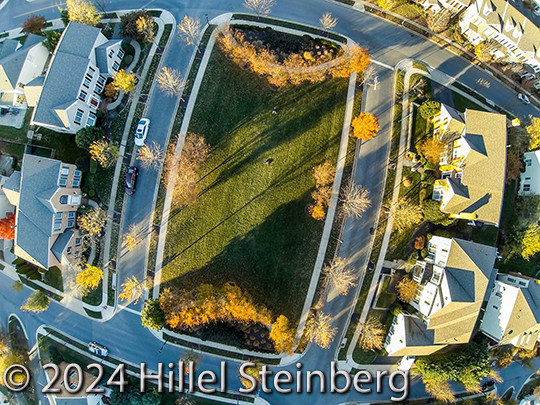
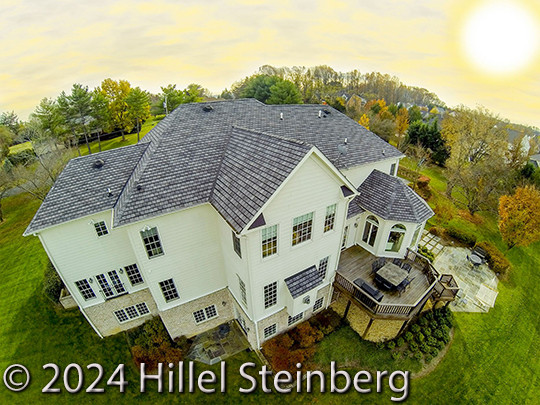
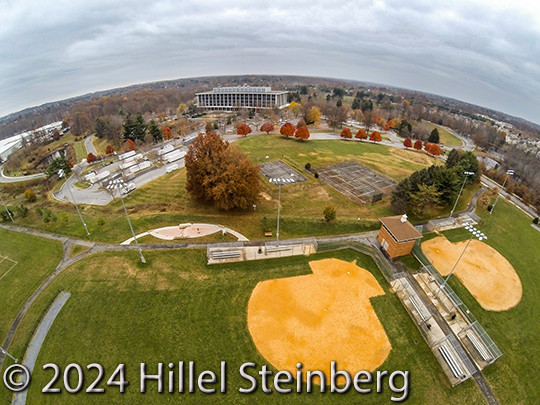
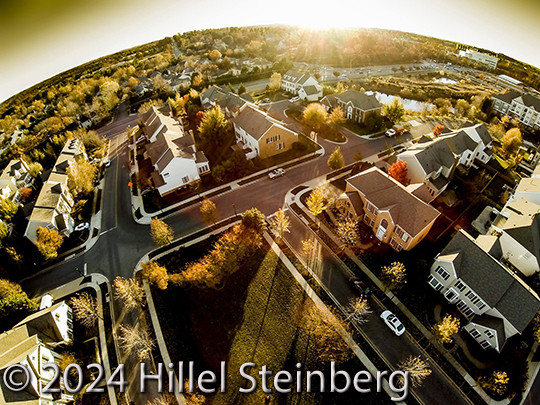
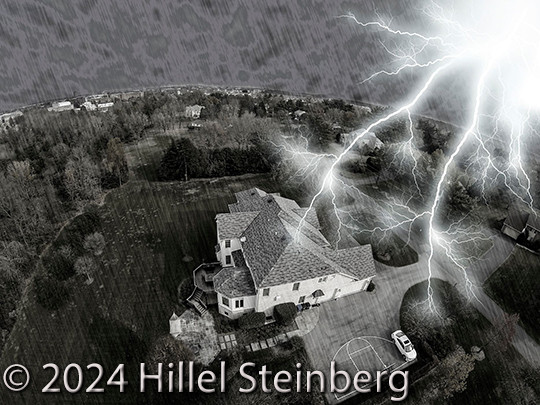
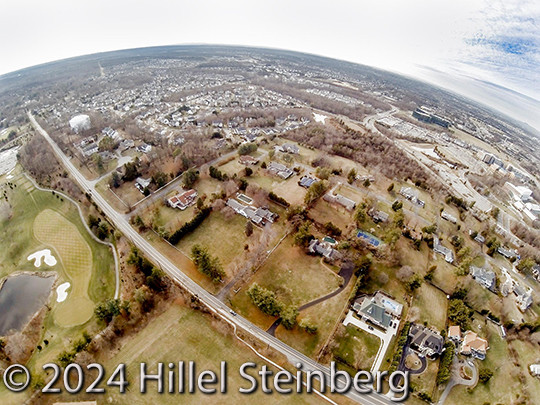
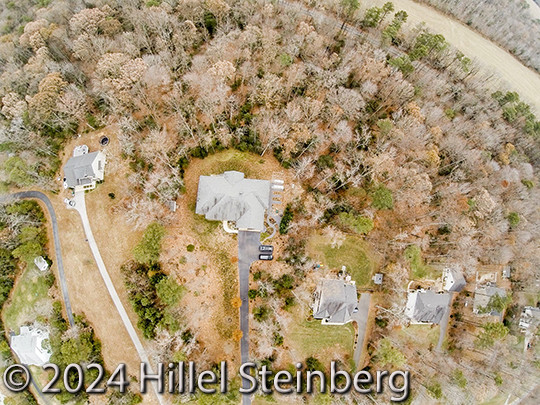
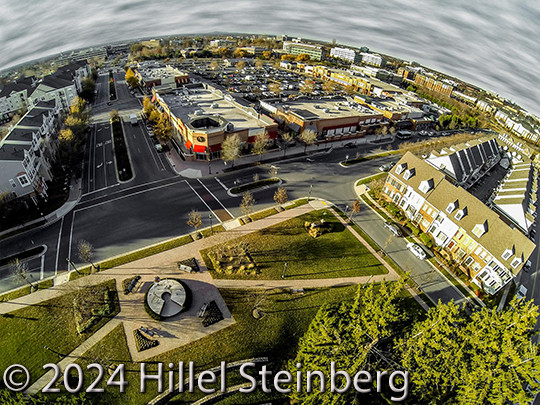
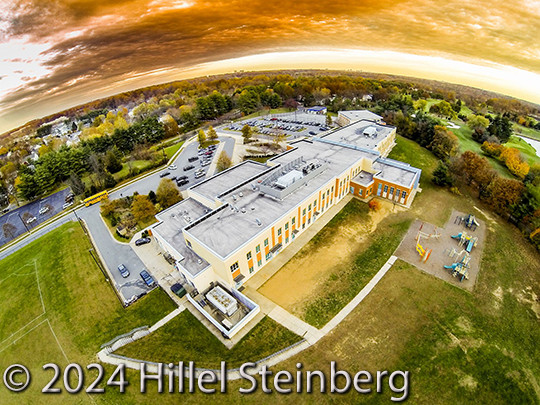
The first few flights were fairly conservative, but over the next few weeks, I pushed the drone higher and further on each successive run. The current rules specify a ceiling of 400ft. This may change over the coming years as the FAA finally begins to address this new area of RC headlong. While it’s a new technology ripe for abuse, the possibilities this platform brings to extend traditional photography are staggering. Whether you are planning on taking nature landscapes over Yosemite, or capturing panoramic views of real estate, the results will most likely be like nothing ever seen before. Imagine flying a drone over Niagra Falls and looking straight down. Cool, right? Well, its already been done!
Though there are restrictions in place limiting the commercial use of anything currently captured by drones, I’m hoping this will change as there are many of us who will genuinely benefit by having access to these revolutionary views – from farmers checking on their crops, to roof inspectors doing their job in safety. As drones become smarter, they will also provide more safety features (e.g. safe circle, return to home, GPS stability, etc). It’s only a matter of time before they become common place in new areas such as sporting events (think small blimp), search and rescue, animal tracking, bridge/dam inspection, traffic monitoring, filming, weather research, and yes, Amazon deliveries. As their cost lowers, their safety and capabilities appear to be on the rise. Interest in drones continues to grow from just a few enthusiasts to a considerable form of entertainment and utility embraced by the general public.
Yes, there are those skeptical of how drones will negatively affect their privacy. This fear isn’t much different than those concerns continuously voiced about social media which only now permeates our culture after maturing for over ten years. The lessons learned are that:
1. There will always be people who fear change.
2. Some technologies end up trading privacy for increased access to real-time information.
3. New areas will require reasonable controls before they become safe and widely accepted.
4. At some point in the future, you will look back and wonder how this world existed without this technology.
For now, flying a quadcopter is just a new hobby for me. It is simply a way for me to share my passion for photography with results most folks have never seen. While drones become more popular each day, it will be fun to look back in future years, and reminisce about the times we rode this new technology wave through its infancy, much as a few of us did with computers as a teenager in the late 70s and early 80s. My next step is to add FPV (first person view) and a gimbal (pan/tilt) to the platform. This will provide for a more immersive experience. And to that extent, I may no long wonder what it is like to fly!

Post a Comment
You must be logged in to post a comment.